


Aircraft Scale Model Chart
Below are the Lengths (L) and Wingspans (W) of the different scales/aircraft types in Cm's
| 1/200 scale | 1/400 scale | 1/500 scale | ||||
| Aircraft Type | Length CM | Wingspan CM | Length CM | Wingspan CM | Length CM | Wingspan CM |
| Airbus A300-B4 | 27 | 22 | 13 | 11 | 11 | 9 |
| Airbus A300-600 | 27 | 22 | 14 | 11 | 11 | 9 |
| Airbus A310 | 23 | 22 | 12 | 11 | 9 | 9 |
| Airbus A318 | 16 | 17 | 8 | 9 | 6 | 7 |
| Airbus A319 | 17 | 17 | 8 | 9 | 7 | 7 |
| Airbus A320 | 19 | 17 | 9 | 9 | 8 | 7 |
| Airbus A321 | 22 | 17 | 11 | 9 | 9 | 7 |
| Airbus A330-200 | 30 | 30 | 15 | 15 | 12 | 12 |
| Airbus A330-300/800/900 | 32 | 30 | 16 | 15 | 13 | 12 |
| Airbus A340-200 | 30 | 30 | 15 | 15 | 12 | 12 |
| Airbus A340-300 | 32 | 30 | 16 | 15 | 13 | 12 |
| Airbus A340-500 | 34 | 32 | 17 | 16 | 14 | 13 |
| Airbus A340-600 | 37 | 32 | 19 | 16 | 15 | 13 |
| Airbus A350-900 | 34 | 33 | 17 | 16 | 13 | 13 |
| Airbus A350-1000 | 37 | 33 | 18 | 17 | 15 | 13 |
| Airbus A380 | 36 | 40 | 18 | 20 | 15 | 16 |
| ATR-42 | 11 | 12 | 6 | 6 | 5 | 5 |
| ATR-72 | 14 | 14 | 7 | 7 | 5 | 5 |
| BAe146-100 | 13 | 13 | 7 | 7 | 5 | 5 |
| BAe146-200 | 14 | 13 | 7 | 7 | 6 | 5 |
| BAe146-300 | 15 | 13 | 8 | 7 | 6 | 5 |
| Boeing 707 | 23 | 22 | 12 | 11 | 9 | 9 |
| Boeing 717-200 | 19 | 14 | 9 | 7 | 8 | 6 |
| Boeing 727-100 | 20 | 16 | 10 | 8 | 8 | 7 |
| Boeing 727-200 | 23 | 16 | 12 | 8 | 9 | 7 |
| Boeing 737-200 | 15 | 14 | 8 | 7 | 6 | 6 |
| Boeing 737-300 | 17 | 14 | 8 | 7 | 7 | 6 |
| Boeing 737-400 | 18 | 14 | 9 | 7 | 7 | 6 |
| Boeing 737-500 | 16 | 14 | 8 | 7 | 6 | 6 |
| Boeing 737-600 | 16 | 17 | 8 | 9 | 6 | 7 |
| Boeing 737-700 | 17 | 17 | 8 | 9 | 7 | 7 |
| Boeing 737-800 | 20 | 17 | 10 | 9 | 8 | 7 |
| Boeing 737-900 | 21 | 17 | 11 | 9 | 8 | 7 |
| Boeing 747SP | 28 | 30 | 14 | 15 | 11 | 12 |
| Boeing 747-200/300 | 35 | 30 | 18 | 15 | 14 | 12 |
| Boeing 747-400 | 35 | 32 | 18 | 16 | 14 | 13 |
| Boeing 757-200 | 24 | 19 | 12 | 10 | 9 | 8 |
| Boeing 757-300 | 27 | 19 | 14 | 10 | 11 | 8 |
| Boeing 767-200 | 23 | 24 | 12 | 12 | 9 | 10 |
| Boeing 767-300 | 27 | 24 | 14 | 12 | 11 | 10 |
| Boeing 767-400 | 31 | 26 | 15 | 13 | 12 | 10 |
| Boeing 777-200 | 32 | 30 | 16 | 15 | 13 | 12 |
| Boeing 777-300 | 37 | 30 | 18 | 15 | 15 | 12 |
| Boeing 787-8 | 28 | 30 | 14 | 15 | 11 | 12 |
| Boeing 787-9 | 32 | 30 | 16 | 15 | 13 | 12 |
| Boeing 787-10 | 34 | 30 | 17 | 15 | 14 | 12 |
| Concorde | 31 | 13 | 16 | 6 | 12 | 5 |
| CRJ-200 | 13 | 11 | 7 | 5 | 5 | 4 |
| CRJ-700 | 16 | 12 | 8 | 6 | 7 | 5 |
| CRJ-900 | 18 | 12 | 9 | 6 | 7 | 5 |
| Dash8-100/200 | 14 | 12 | 7 | 6 | 5 | 5 |
| Dash8-300 | 13 | 14 | 6 | 7 | 5 | 5 |
| Dash8-400 | 16 | 14 | 8 | 7 | 7 | 6 |
| DC-8-30/40/50 | 23 | 22 | 11 | 11 | 9 | 9 |
| DC-8-62 | 24 | 23 | 12 | 11 | 10 | 9 |
| DC-8-61/63 | 29 | 23 | 14 | 11 | 11 | 9 |
| DC-9-30 | 18 | 14 | 9 | 7 | 7 | 6 |
| DC-9-40 | 19 | 14 | 10 | 7 | 8 | 6 |
| DC-9-50 | 20 | 14 | 10 | 7 | 8 | 6 |
| DC-10-10 | 28 | 24 | 14 | 12 | 11 | 9 |
| DC-10-30 | 28 | 25 | 14 | 13 | 11 | 10 |
| Do328/328Jet | 11 | 10 | 5 | 5 | 4 | 4 |
| EMB120 | 10 | 10 | 5 | 5 | 4 | 4 |
| ERJ135 | 13 | 10 | 7 | 5 | 5 | 4 |
| ERJ140 | 14 | 10 | 7 | 5 | 6 | 4 |
| ERJ145 | 15 | 10 | 7 | 5 | 6 | 4 |
| Embraer170 | 15 | 13 | 7 | 7 | 6 | 5 |
| Fokker70 | 15 | 14 | 8 | 7 | 6 | 6 |
| Fokker100 | 18 | 14 | 9 | 7 | 7 | 6 |
| MD-11 | 31 | 26 | 15 | 13 | 12 | 10 |
| MD-81/82/83/88 | 23 | 16 | 11 | 8 | 9 | 7 |
| MD-87 | 20 | 16 | 10 | 8 | 8 | 7 |
| MD-90-30 | 19 | 16 | 9 | 8 | 8 | 7 |
| MD-90-40 | 26 | 16 | 13 | 8 | 10 | 7 |
| L-1011 | 27 | 24 | 14 | 12 | 11 | 9 |
| L-1011-500 | 25 | 25 | 13 | 13 | 10 | 10 |
| Tu-154 | 24 | 19 | 12 | 9 | 10 | 8 |

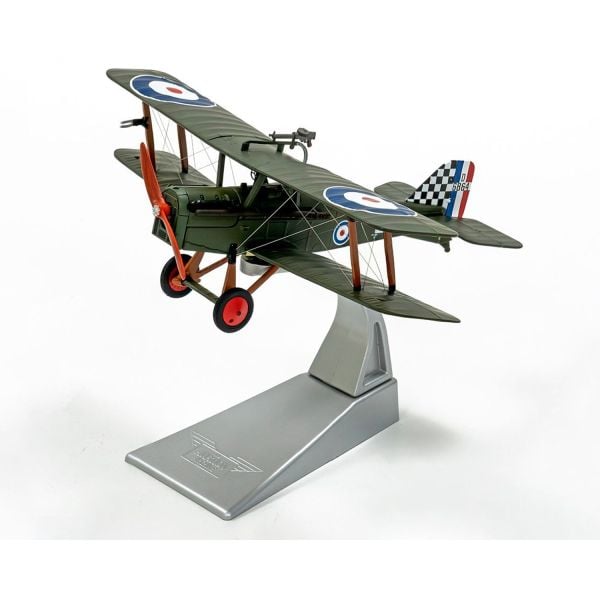
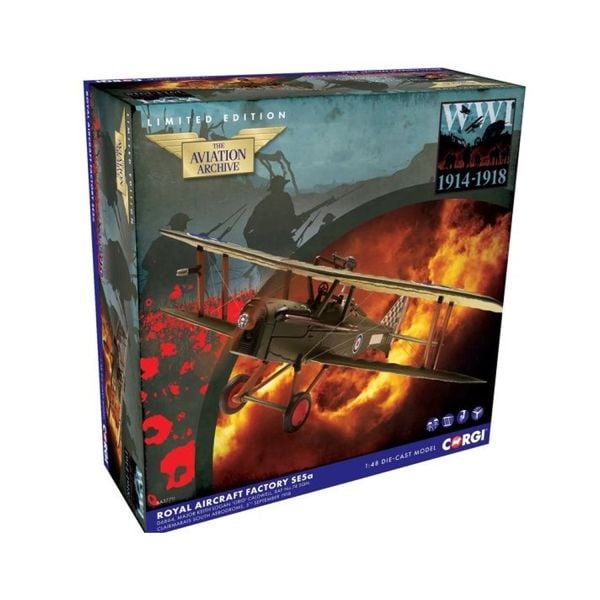
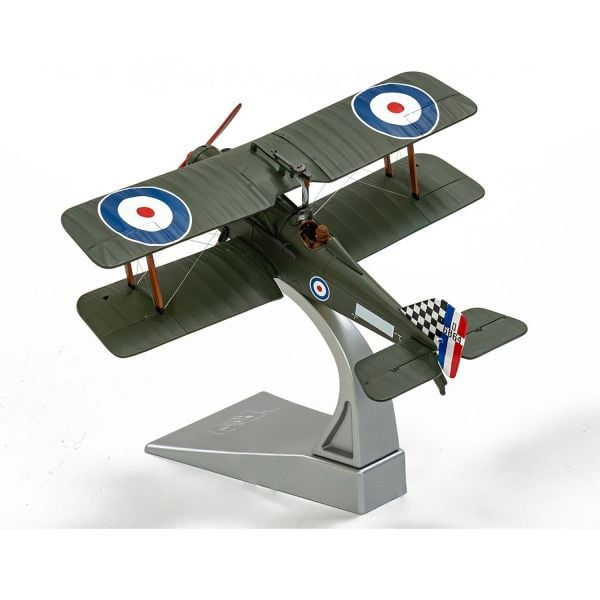
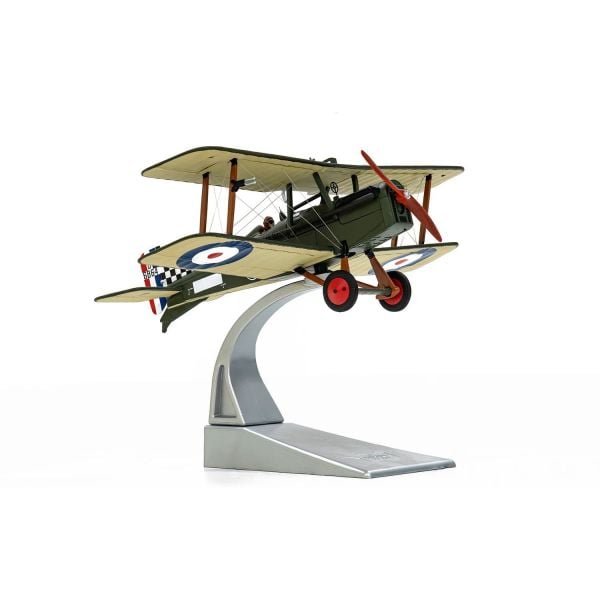
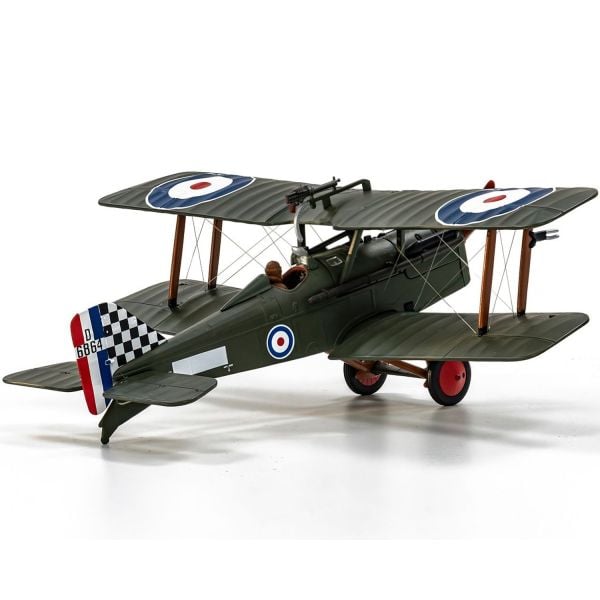
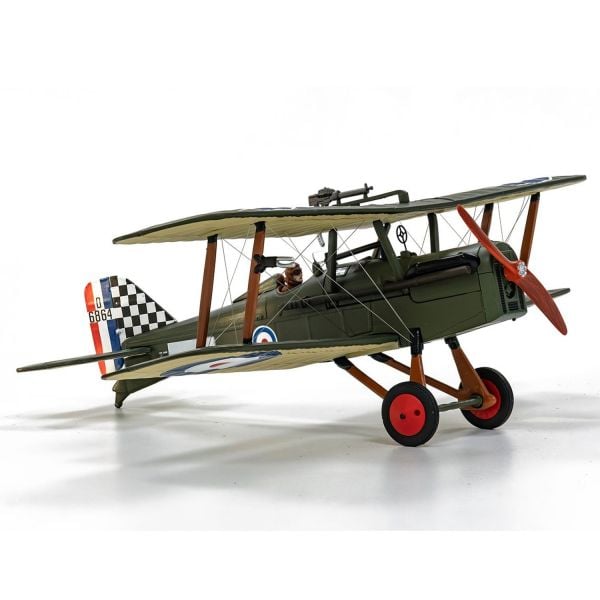

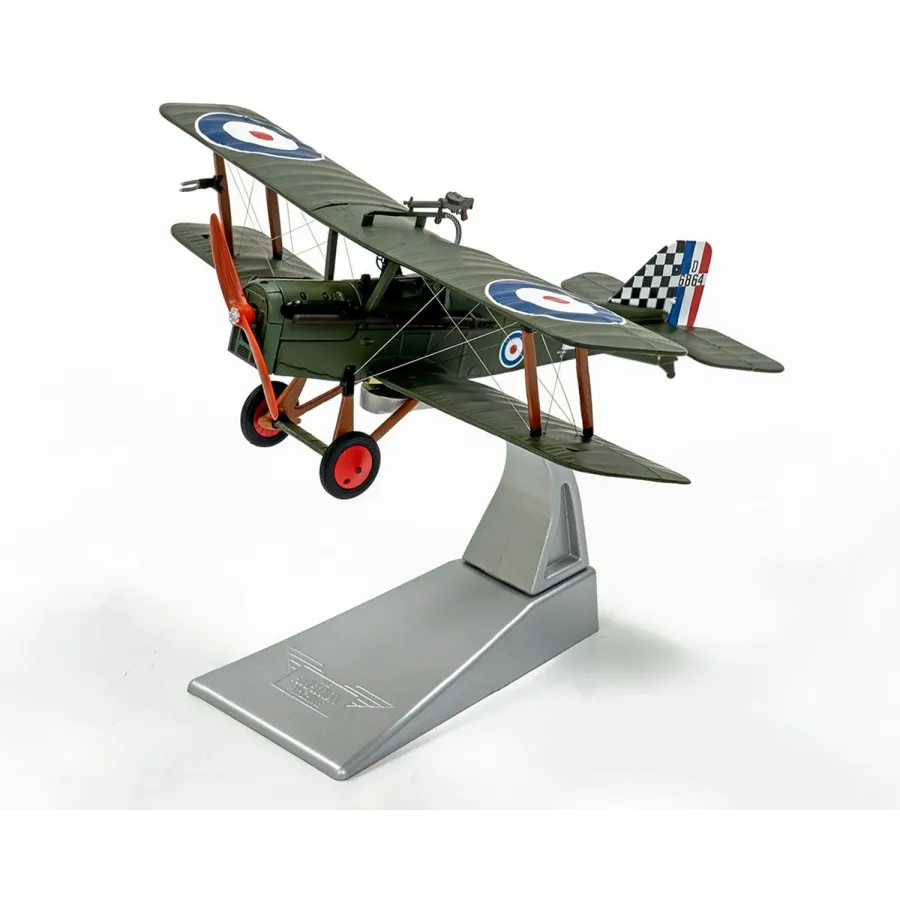
SE5a, Maj. Keith Logan Caldwell, RAF No 74Sqn, Clairmarais, France, September 1918
Already celebrated as a brave and tenacious pilot, New Zealander Keith Caldwell would surpass his own high standards of incredible airmanship when his fighter was involved in a mid-air collision in September 1918. With his aircraft damaged and spinning earthwards, Caldwell climbed out to stand on the wing of the fighter, where he attempted to pull the wing and strut closer together.
At the same time, he kept his other foot on the rudder peddle and attempted to bring the aircraft under some control. Miraculously, the aircraft started to respond, but continued dropping at an alarming rate, however, it was now something of a controlled fall. Knowing he wouldn’t be able to affect a controlled crash landing, Caldwell brought the stricken fighter in low over Allied lines, jumping clear of the aircraft just seconds before it struck the ground and disintegrated.
Allied troops watching on could hardly believe what they had witnessed, and later recounted how as the SE5a smashed into the ground, Caldwell picked himself up, dusted himself down and calmly strolled towards Allied positions. For most men, having survived such an incident, they would have taken this opportunity to use their rank and take a desk job for the rest of the war, but that wasn’t Keith Caldwell’s style. He was straight back to his squadron and back flying operational patrols, once he’d been checked out by station doctors
Related Products